![]()
![]()
![]()
![]()
![]()
![]()
![]()
![]()
Windows
Small Business Server 2003, Part 2
SBS2K3 Installation Walk Through
Text Mode
by Andy Goodman [SBS-MVP] with Special Thanks to Jim
March
Ok so my intention here is to walk you through an installation of SBS2003 using the actual RTM code you will be using. This will give you a chance to see all the screens and prepare your installation as though you have already done one. This way your installation has a better chance of being what you really wanted.
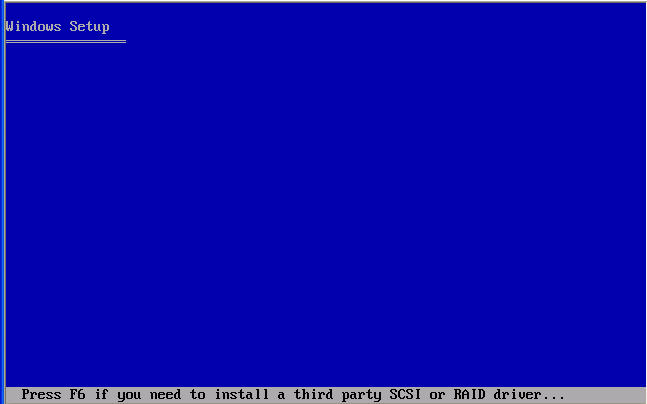
This is the first screen after booting a new machine from
the first CD of SBS 2003.
If you need to load a Storage Driver hit "F6" as soon as you see the prompt,
I recommend hitting it repeatedly 5 or 6 times so you don't miss.
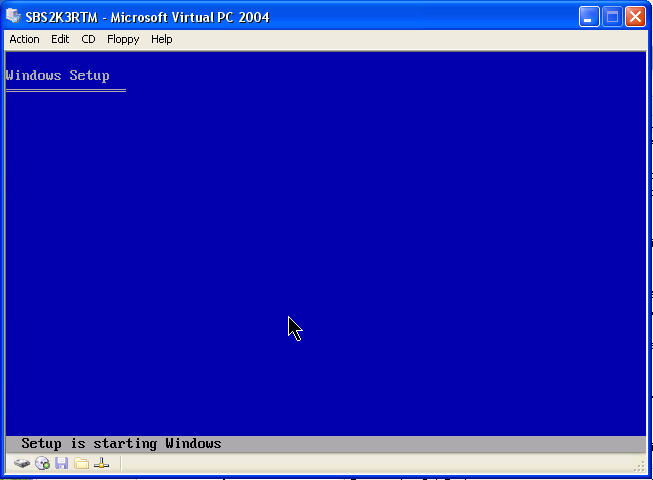
Setup loads a small runtime into memory to gather info from you so it knows what you want to do.
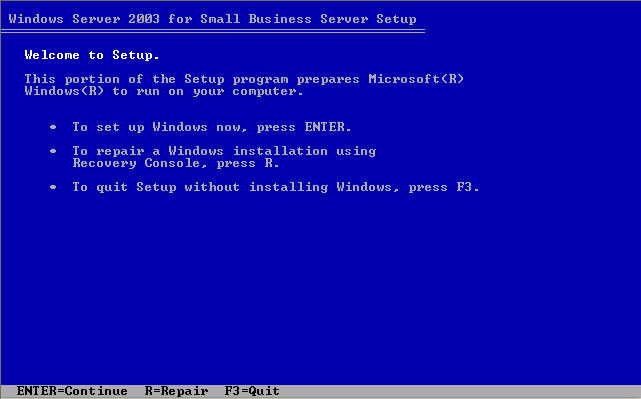
Since we are doing a new install we will just hit <Enter> here to continue our installation.
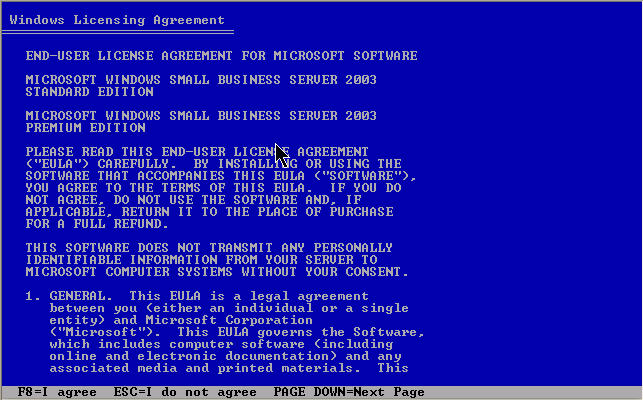
Of course you have to accept the license to use the software, so after reading it hit "F8" to accept and continue
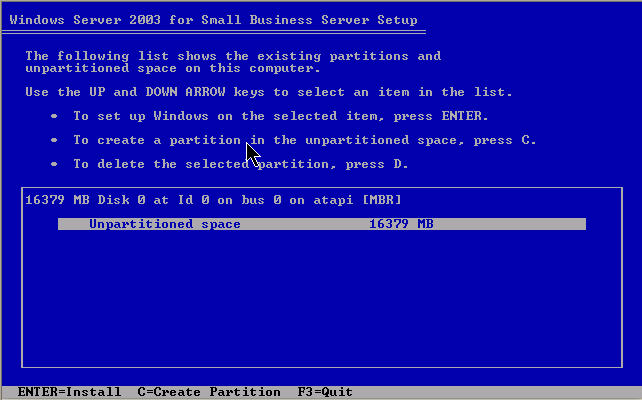
Since this is a new machine we need to create a partition to hold Windows, so hit "C"
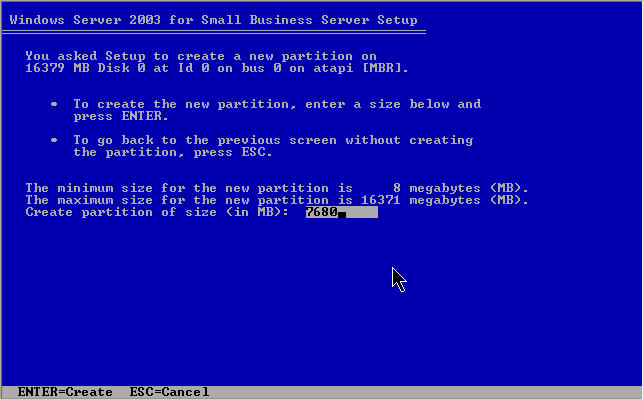
As for the size of the partition great debates continue to this day. In days of old there was a real problem with the "C" drive being over 1023 sectors as files needed to boot the machine could be moved past that Int13 limitation. Today's operating systems don't have this issue but certain utilities that run from DOS still do. So I prefer to keep all my options open and keep the "C" (system drive) under this limit. The magic number for the screen above is 7680.
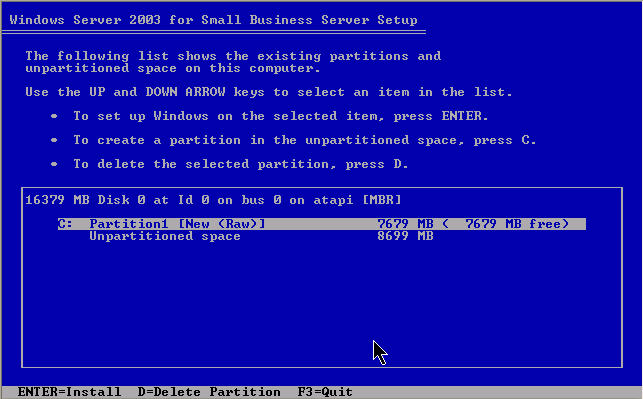
Now we will choose the partition, just created, for the installation. We will deal with the rest of the drive partitions later.
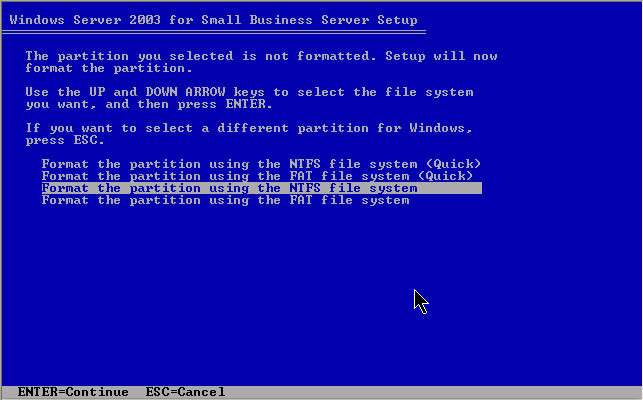
SBS requires NTFS and since this is a new drive I would opt for the full format over the quick as it does some checking of the condition of the drive and marks any bad sectors so they don't get used. It will require a little extra time over the Quick Option, but may save you quite a bit down the road. Also Do Not Choose either of the Fat Options as SBS requires NTFS and so if you format Fat, later it will be converted to NTFS and this will leave the MFT fragmented, which is a performance robbing condition.
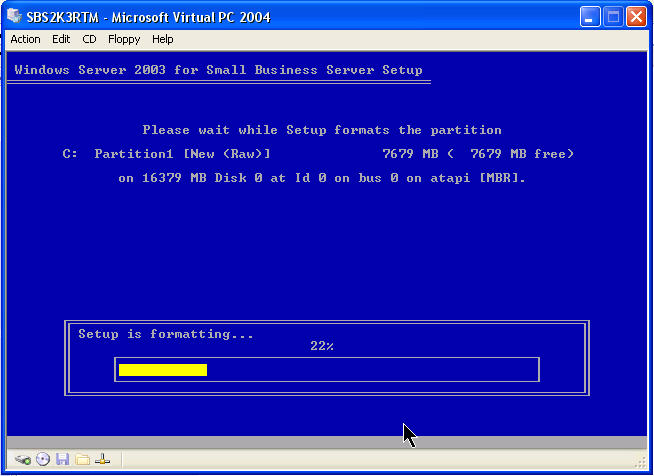
Ok this is your first chance to go get a Coke, this will be a little wait
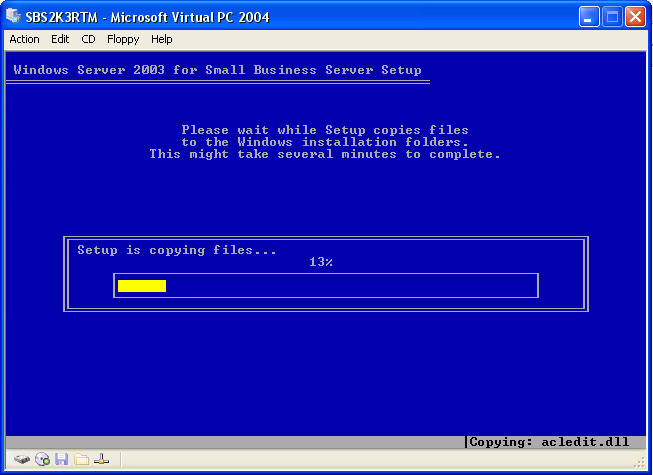
And if you didn't really leave you will see this screen next as setup copies files to a temporary directory
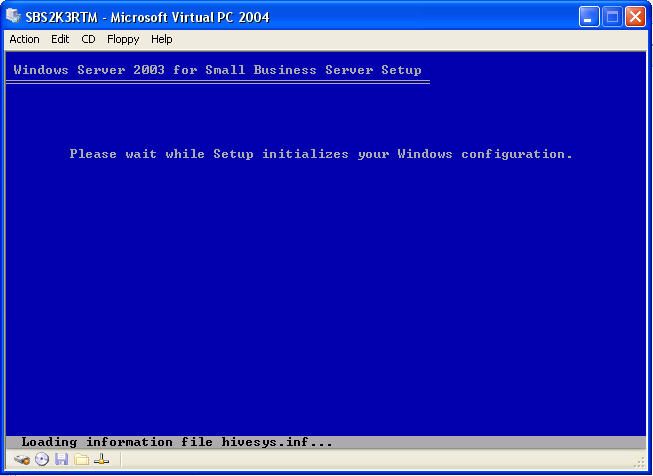
And then setup will start a limited version of Windows to enable it to gather the information from you to setup Windows Server 2003.
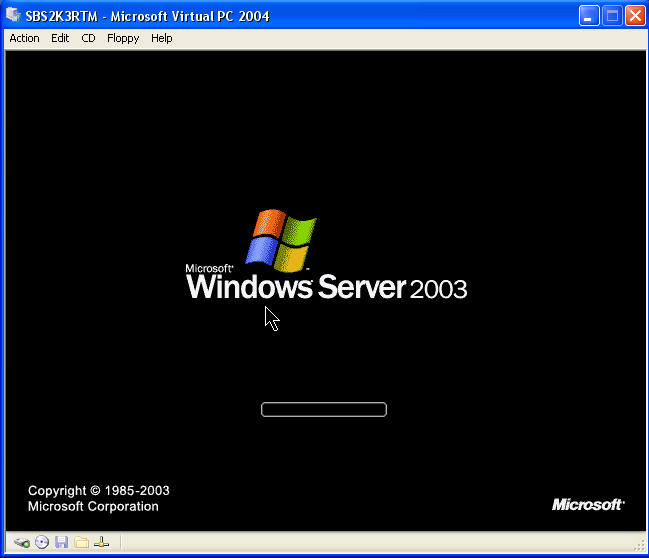
This is the first time we actually see the Windows Server 2003 Splash Screen.
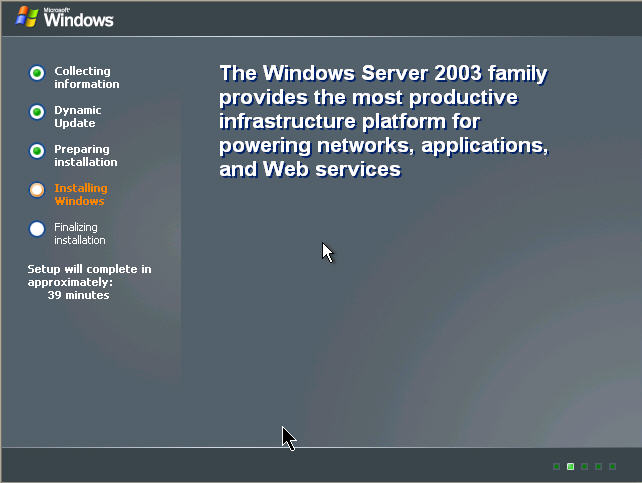
Setup will keep you updated as to it's progress through the install and give you updates to time remaining.

Here is the first input you have to supply since you left for your Coke about 20 minutes ago.
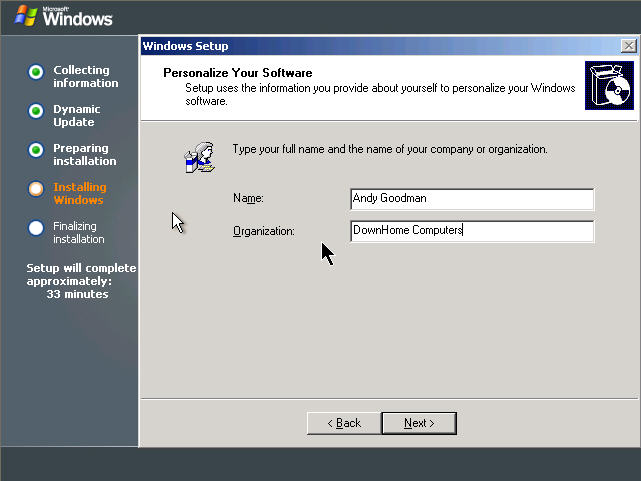
Put your name on your copy of SBS 2003, now that you are a proud owner of a SBS License.
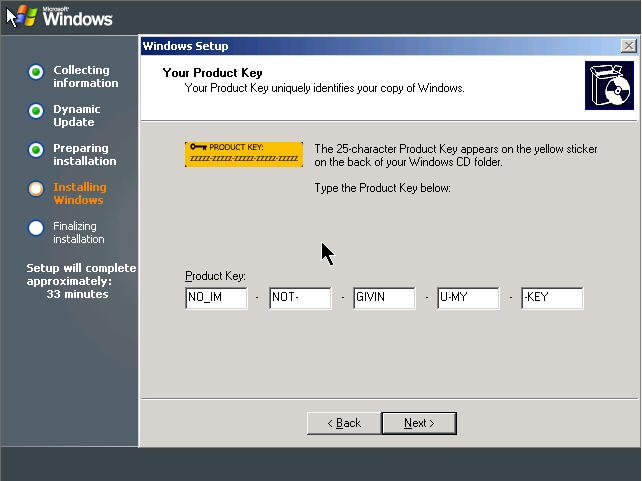
This is where you have to put that annoyingly long complicated number, being dyslexic it usually takes me 2 or 3 tries to get it right.
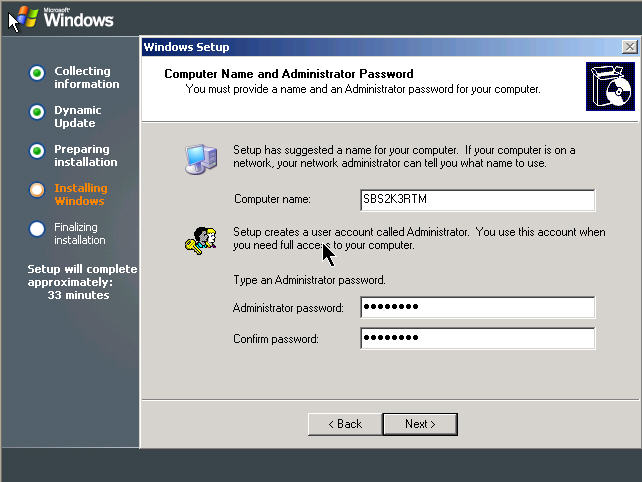
Give some thought to what you name your computer. You and your users are going to be typing it over and over so keep it relatively short and easy to remember. You will get one chance to change it after the next reboot and then it is locked in forever, unless you reinstall from scratch.
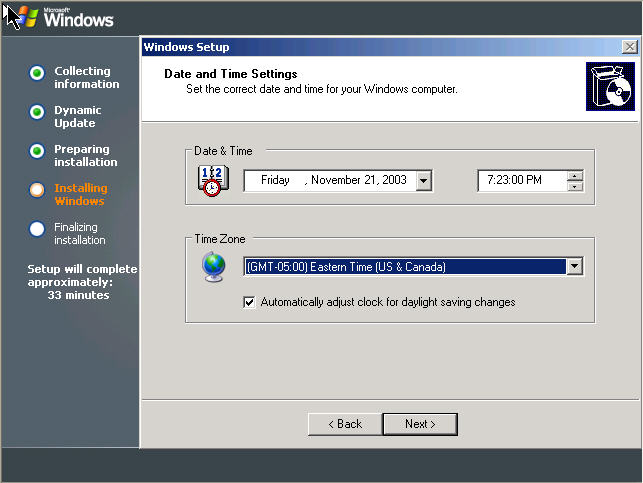
Normally this screen is a no-brainer, but there is an
issue with the first code to hit the street,
so if you have this early code Make Sure you Set the
Clock to a Date before November 24, 2003
A fix for this issue is in the works at Microsoft, as I write this
article.
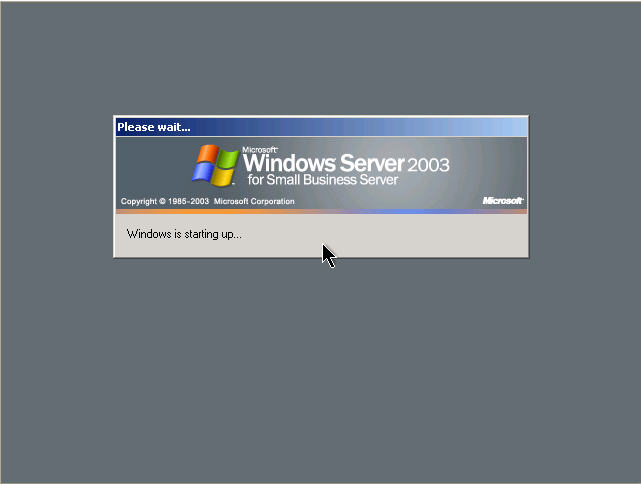
Now setup will start Windows Server 2003
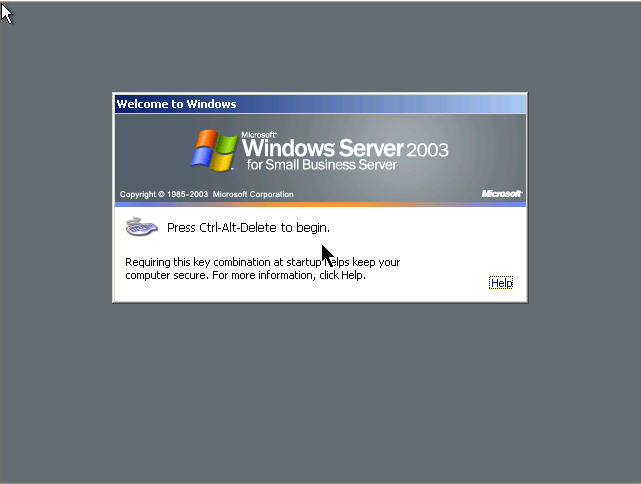
Logon to your new installation of Windows Server.
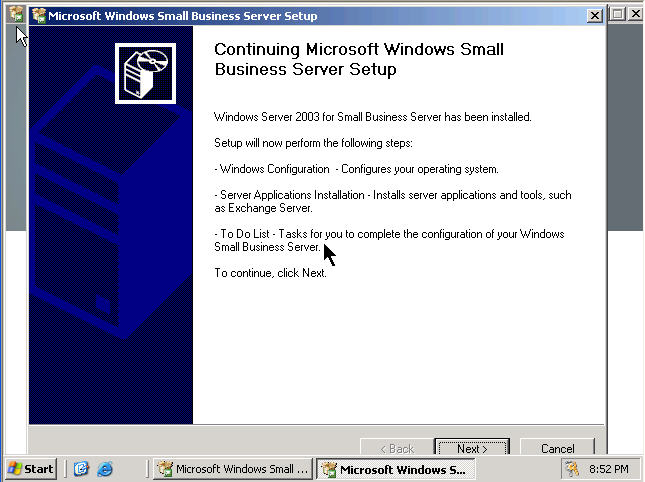
You could continue from here, but my recommendation is to cancel out at this point.

Cancel out of this screen also, which will bring you the desktop.
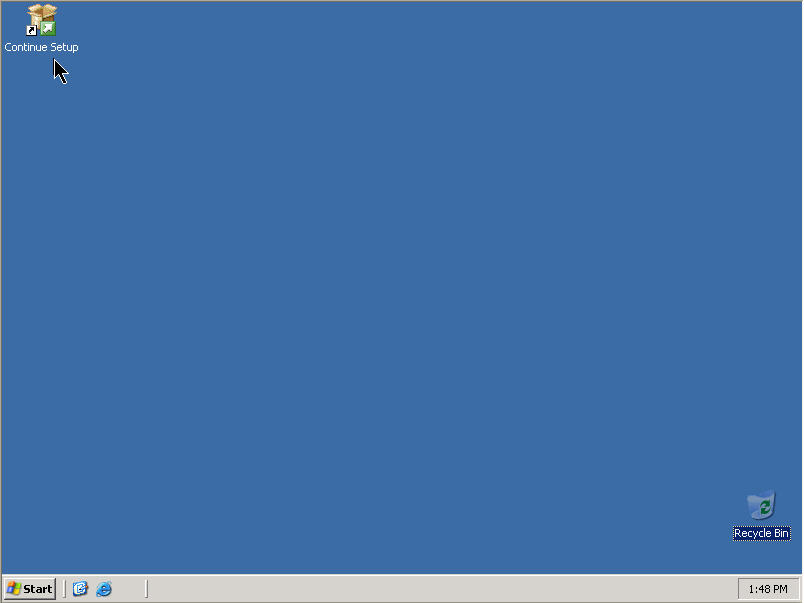
As you can see, setup has placed a Icon on the Desktop to allow us to continue our SBS 2003 setup when we are ready.
Before we do, I would recommend taking a look at Device Manager to make sure there are no yellow or red bangs (!).
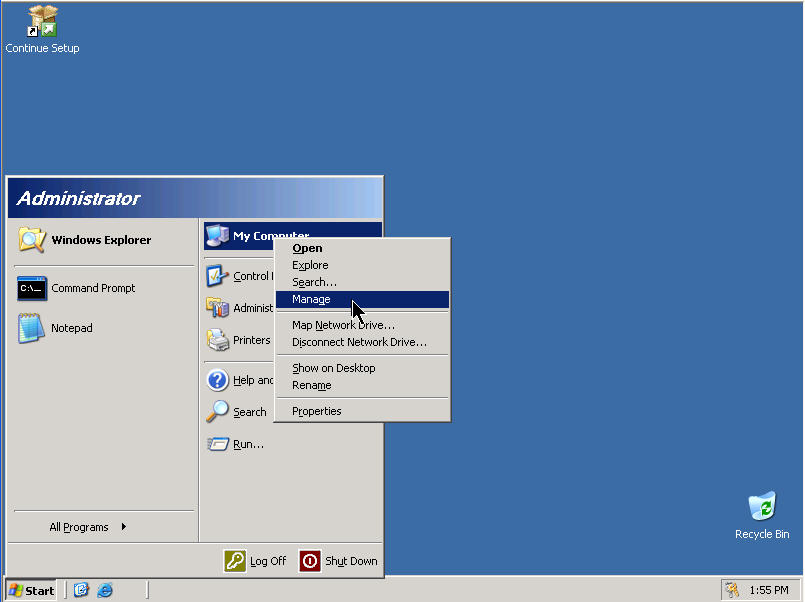
So click "Start" then right click on "My Computer" and click on "Manage"
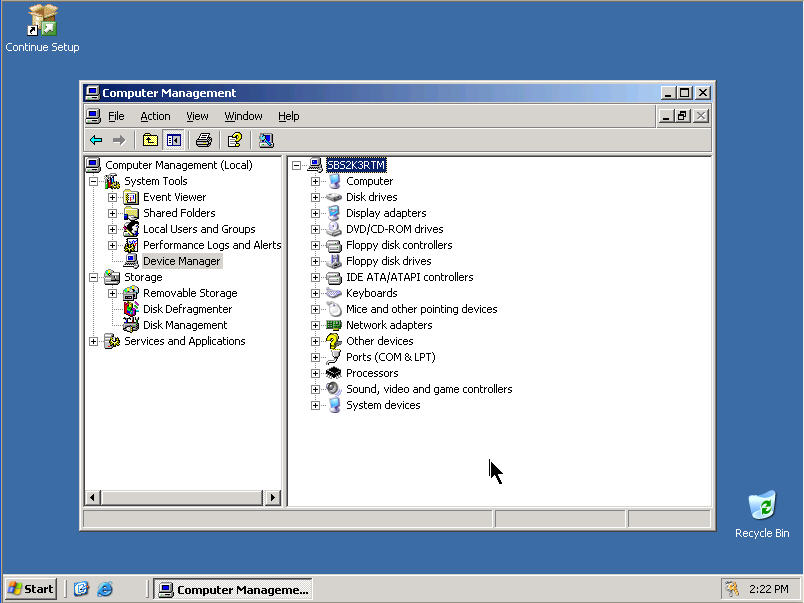
Now click on "Device Manager"
Then this is a good chance to take care of partitioning the rest of the disk space.
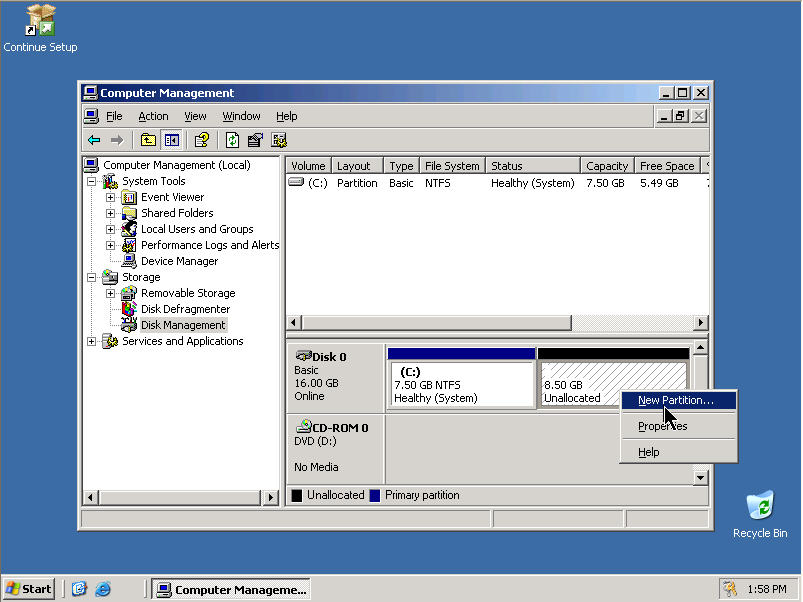
Click on "Disk Management" and then right click on "Unallocated" and click "New Partition"
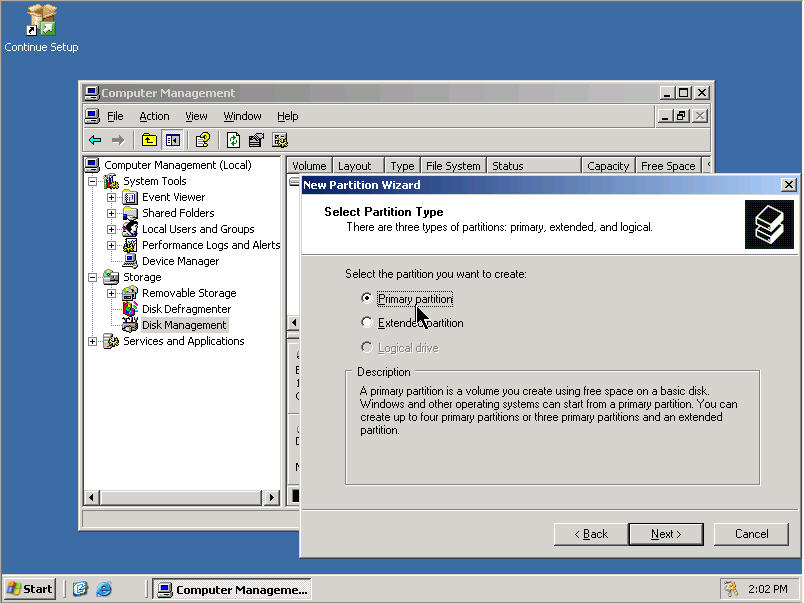
As we are not going to be using-up are allowed four primary partitions we can take the default here. If we need a lot of partitions we would make the fourth one an Extended Partition which allows for more Logical Partitions.
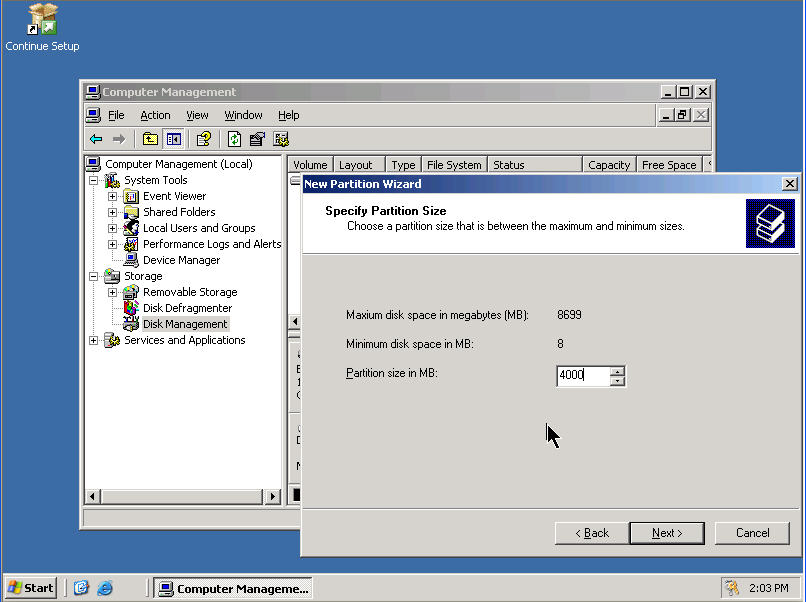
Here you can enter any size you wish, the 7.68 gig limit does not apply. Of course the disk size is a limitation.
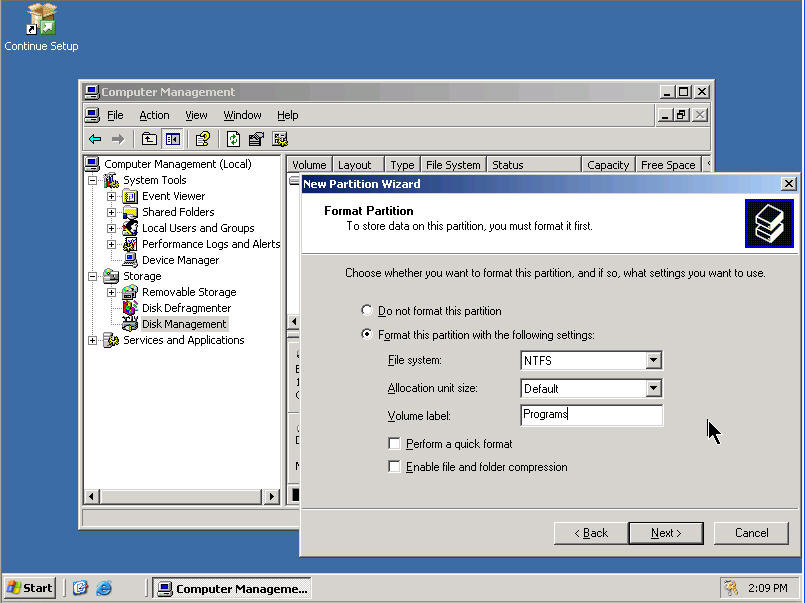
Although not mandatory, I highly recommend making all the partitions NTFS; they are so much more resilient. Once again, this is a new disk, so we will not choose quick format. If this was a known good disk, we would choose quick format. File and folder compression is another personal choice. As cheap as disks are these days, I prefer to leave it off and gain a little performance.
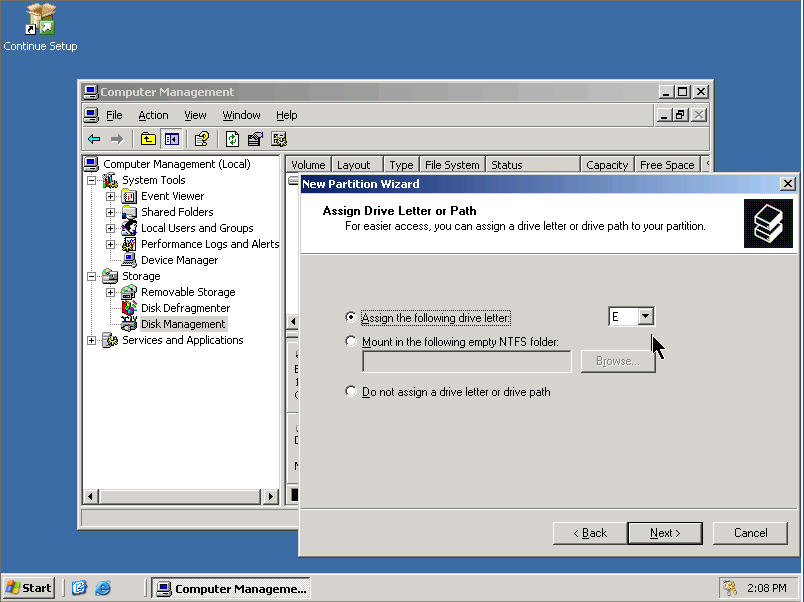
You can assign any unused letter to your new partition.
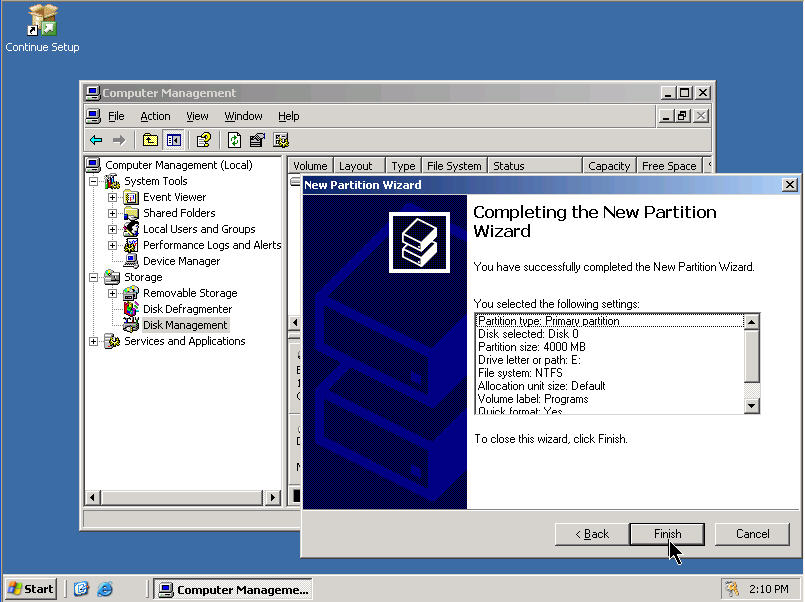
This is the normal "are you sure this is what you want to do" screen. If all looks good, hit "Finish".
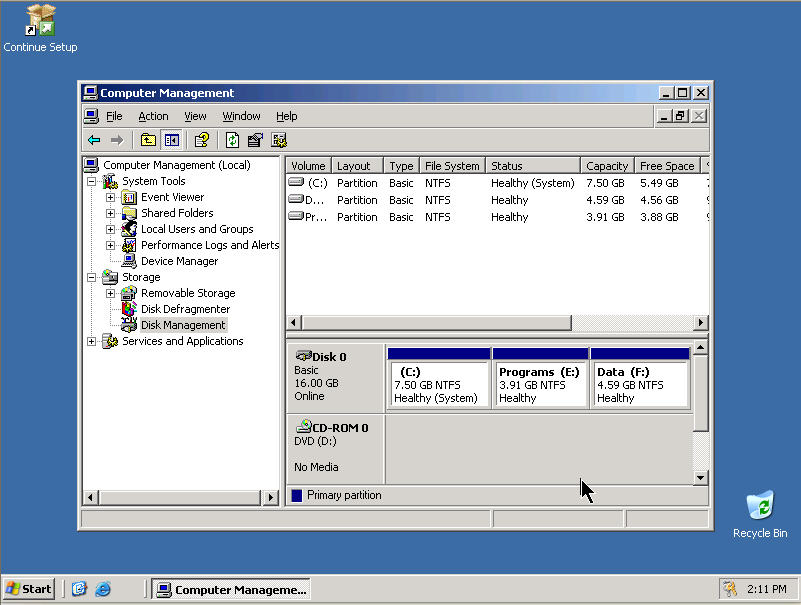
Ok now that you know how to create partitions, go ahead and do it again for the remaining space.
Unlike previous version there is no point in naming your network connections as setup is going to rename them anyway.
So now we have a well running install of Windows Server 2003 and in the next article we will continue with our SBS installation.
In the mean time here is a link to some useful SBS2003 sites